> For the complete documentation index, see [llms.txt](https://kb.logicerp.com/llms.txt). Markdown versions of documentation pages are available by appending `.md` to page URLs; this page is available as [Markdown](https://kb.logicerp.com/logic-erp-learning-hub-tutorials-and-best-practices/defining-custom-columns-in-reports-and-grids-with-expressions/lcase-function.md).
# LCase() Function
**YouTube:** [How to Use the LCase ( ) Function in Report Custom Columns?](https://www.youtube.com/watch?v=e2y13oLd_s0)
## How to Use the LCase( ) Function in Report Custom Columns?
In this tutorial, you'll learn how to create an expression that **converts text to lowercase** using the `LCase` function. This is useful for standardizing text display in grids and reports.
***
### Accessing the Expression Designer:
* Open Sale Voucher or any document.
* Navigate to the "**Setup Column Attributes"**.
* Here, you'll see a list of available columns that can be used to build expressions.
* Click on **"Add/Edit Expression Columns"** where you can write your expression using predefined functions.
### Writing Your First Expression
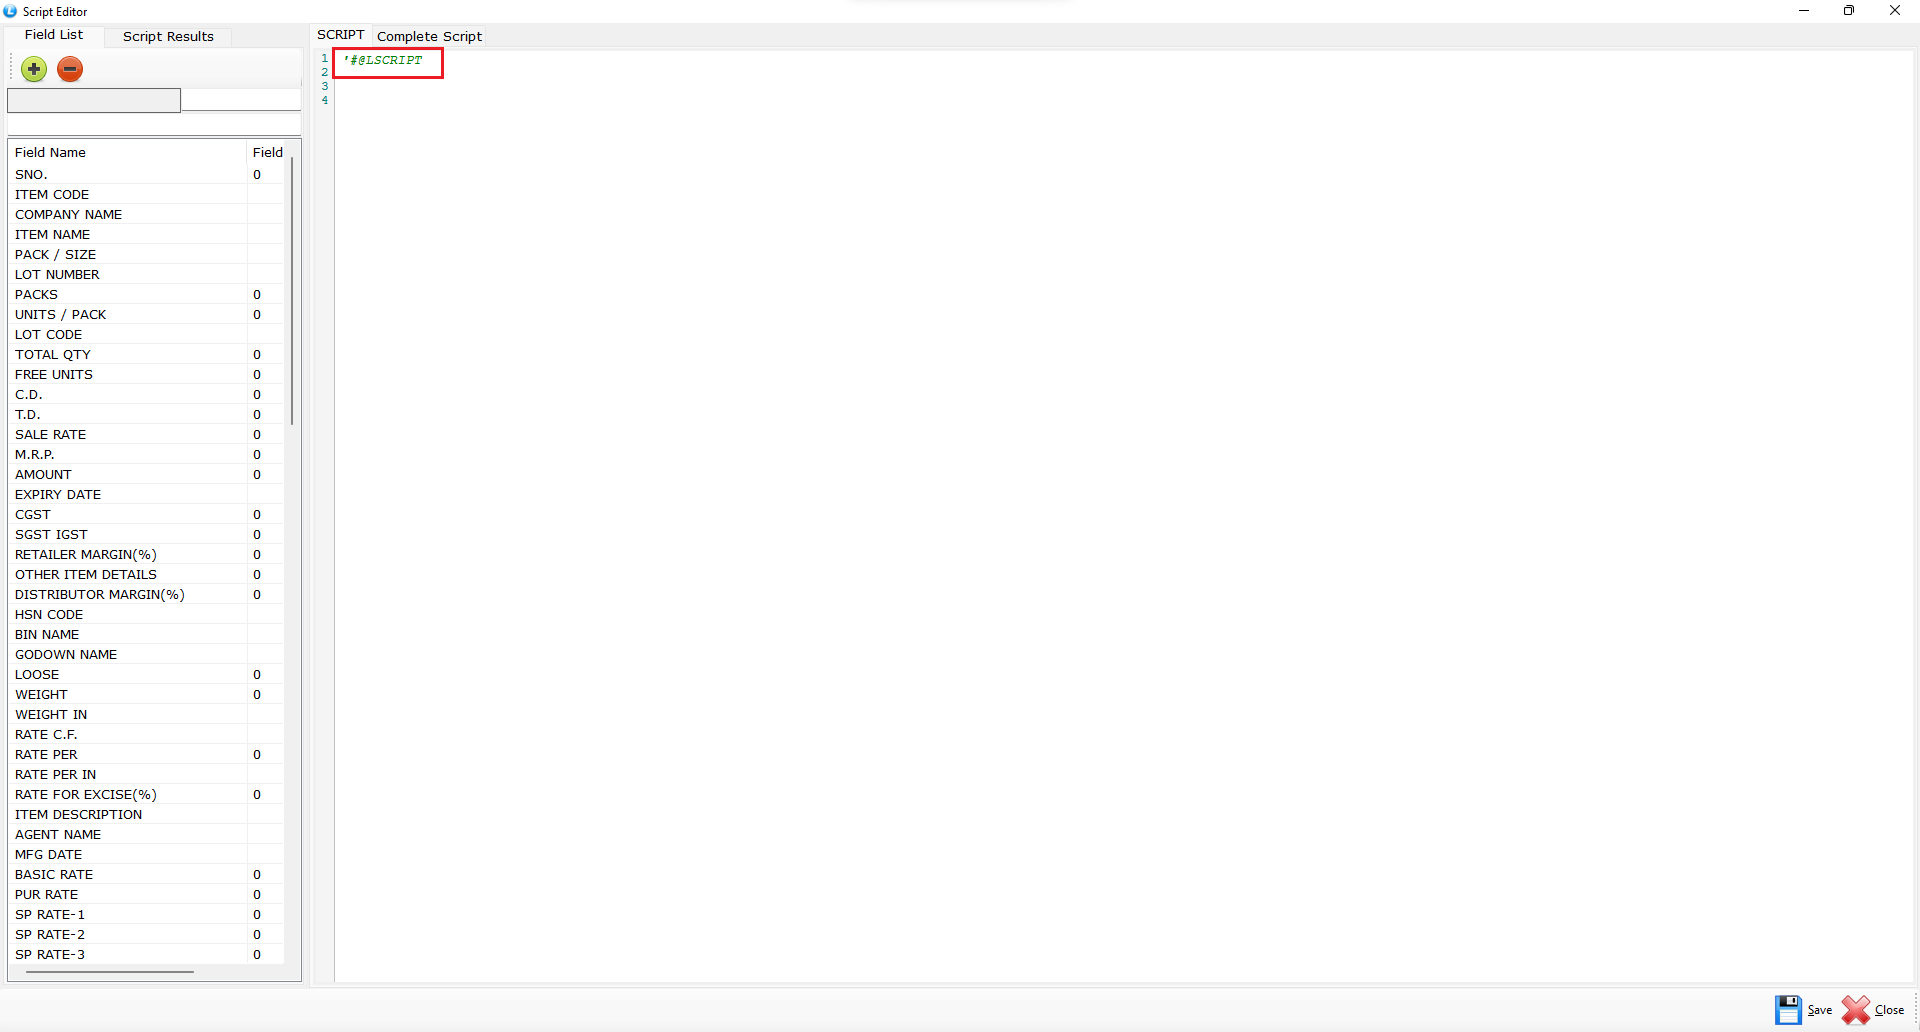
* Every expression must start with the script header: **'#@LSCRIPT**
* Click the (+) Plus icon to create a new expression.
* Fill in the required fields:
* **Expression Name** – A unique name for your expression.
* **Expression Type** – Choose either **Text** or **Numeric** depending on the expected output.
* Double-click the expression name to insert it into the editor.
* Define the expression using the syntax:
* Expression Name = LCASE("ITEM\_NAME")
> This converts all characters in `ITEM_NAME` to lowercase.
* Save the expression.
* Scroll down and check the box to enable the expression in the grid.
* Save and proceed to check the effect.
* The column will now display all **item names in lowercase**.
* Any text already in lowercase remains unchanged.
***
### Applying the Expression in a Report
* Navigate to the **Reporting** section.
* Open the **Sales Register Detailed Report** or any **"Report".**
* Go to **Setup Column Attributes** as you did earlier.
* Before adding the expression to the report, go to **Other Settings**.
* Ensure the **Script Editor** is set to **VBScript**.
* Click **Save**.
* *Note: VBScript is the default for new configurations but always verify this setting.*
***
### Adding and Using the Expression in the Report
* Return to **"Setup Column Attribute"** window.
* Click **"Add/Edit Expression Columns"**.
* Every expression must start with the script header **'#@LSCRIPT**
* Click the (+) Plus icon to create a new expression.
* Fill in the required fields:
* **Expression Name** – A unique name for your expression.
* **Expression Type** – Choose either **Text** or **Numeric** depending on the expected output.
### Creating a Simple LCASE() Expression
* Double-click your newly created expression to insert it into the script editor.
* Define the expression using the syntax:
* Expression Name = LCASE("ITEM\_NAME")
* Click **Save**.
* Scroll down and **check the box** to enable the column in the report.
* Save and proceed to check the effect.
* **Refresh the report** to view the final result.
***
### Summary
* The `LCase` function standardizes text by converting it to lowercase.
* This is useful for **case-insensitive matching**, **uniform display**, and **text normalization**.
* You applied it to both **data grids** and **reports**.
---
# Agent Instructions
This documentation is published with GitBook. GitBook is the documentation platform designed so that both humans and AI agents can read, navigate, and reason over technical content effectively. Learn more at gitbook.com.
## Querying This Documentation
If you need additional information that is not directly available in this page, you can query the documentation dynamically by asking a question.
Perform an HTTP GET request on the current page URL with the `ask` query parameter, and the optional `goal` query parameter:
```
GET https://kb.logicerp.com/logic-erp-learning-hub-tutorials-and-best-practices/defining-custom-columns-in-reports-and-grids-with-expressions/lcase-function.md?ask=&goal=
```
`ask` is the immediate question: it should be specific, self-contained, and written in natural language.
`goal` is optional and describes the broader end goal you are ultimately trying to accomplish on behalf of the user. GitBook uses it to tailor the answer towards what is most useful for that goal.
The response will contain a direct answer to the question and relevant excerpts and sources from the documentation.
Use this mechanism when the answer is not explicitly present in the current page, you need clarification or additional context, or you want to retrieve related documentation sections.